
This adorable wooden Nativity craft is a Christmas Nativity set your kids will love creating–you’ll want to keep the Christmas Nativity scene they create!

Have you ever noticed that kids love blocks?
This super cute wooden Nativity craft your kids can do with ease will be something they’ll want to play with, carry around, and set up inside a LEGO stable. Stick it in a cute little cloth bag, and your child will have their very own Nativity scene set.
These would make fun Nativity ornaments, as well. Just loop some thin ribbon and hot glue it to the back. You could give sets to relatives and friends as gifts.
The possibilities for this fun Christmas Nativity scene are endless.
Before starting your wooden Nativity craft, you’ll want to read the Nativity story with your kids. You’ll find it in Matthew 1:18-2:23 and Luke 2:1-40. Consider doing the Nativity Story Lapbook Bible study, too!

Nativity Craft for Kids
This Nativity craft is so quick and easy. Here’s the secret: the permanent marker really makes the painting pop. It doesn’t matter if your kids are outside the lines (even by a lot) when the lines are on top! This is one of my favorite secret tricks for kids’ art. Check it out:

Tips for Art Projects with Kids
Doing art projects with kids can be a challenge. For that reason, many parents forgo this valuable time altogether. As an art major and a parent who has done frequent art projects with my four children, I have a few suggestions for you.
- Cover your space. Use painting drop cloths and plastic to keep your furniture and flooring protected.
- Cover your kids. Grab a couple of your old T-shirts and throw them over your kids, buy them painting aprons, or designate clothes specifically for crafting.
- Do the prep work in advance. Do as much prep work for a project as you can before you get the kids involved. Not everything on the page needs to be their work. It’s OK to help.
- Schedule several short sessions for one project. Children need several days to be able to create larger projects. Art is time-consuming and requires energy.
- Encourage your kids. Children are likely to be frustrated by the disconnect in the artwork they envision and the art they actually create. Remind your kids that they improve every time they create, and tell them how much you love their work (even if you don’t know what it is!). Also, stick figures are fabulous.
- Operate the hot glue gun. Hot glue burns are terrible. Until your kids are old enough to cook, I’d advise you do the hot gluing.

Nativity Set Supplies

- Scrap Wood Pieces
- A Pencil
- Acrylic paint
- Paint brushes
- A Ruler
- A Fine-Line Permanent Black Marker (This is your secret art weapon!)
- Drawstring Bags – These are totally optional, but are a fun way to store your child’s Nativity set, or to give them as gifts.
80 Blank Wood Pieces Unfinished Round Corner 2.0 x 2.0 Inch BIC Xtra-Smooth Mechanical PencilApple Barrel Assorted Colors 18 pack20 Piece Paint Brush Set2 Pack 12 Inches Plastic Ruler Straight RulerSharpie Permanent Markers, Black Ultra Fine PointDrawstring Pouch Bag in Red 10 Pack


Christmas Nativity Scene Instructions
Here are the steps for the wooden Nativity craft for your kids. Your children can help with most of these steps, and you can step in and help whenever necessary, or you can prepare this for your family or group in advance by tracing figures onto the wood pieces.

1) Lightly Sand the Edges of Your Wooden Tiles

2) Draw Your Nativity Scene Characters with Pencil
Use a pencil to trace the characters on the wooden chips. Use simple shapes and rounded faces. This highly stylized characterization will be fun and simple for your children to paint. Your older children can draw their own characters and prepare to paint them.

Nativity scene cast of characters:
Your child can choose as many characters as they’d like from this list.
- A Manger (with or without a swaddled baby, depending on your view on the second commandment)
- Mary
- Joseph
- Wise Men (the Bible does not tell us how many there were, only that there were 3 gifts given)
- Shepherds
- Sheep
- Angels (again, this depends on your view)
- The Star
- Sheep
- Stable Animals like Donkeys, Goats, and Cows
- Anna
- Simeon
3) Paint the Character on Each Nativity Scene Tile

Note: Be sure the paint brush is fairly dry. A wet paintbrush (too much water) will allow the paint to spread across the wooden tile like watercolor. Your child will be much happier with crisp lines, so avoid using a paintbrush that is really wet. After rinsing their brush, have your child dry it on a washcloth (it will always be a painting washcloth if you use it for that), or on a folded paper towel. Have them dip their now-dry paint brush into the paint and paint directly onto the wooden tile. Do NOT use poster paints or watercolors. Be sure to use acrylics. They can be student grade–I linked to my favorites above.

4) Use Your Secret-Art-Weapon Fine-Point Permanent Marker to Outline the Nativity Characters

Seriously, I use this technique for all kinds of kids’ projects. I discovered it while teaching kindergartners to draw faces, and I’ve never looked back. Kids love how the black marker makes their artwork look like they envisioned it, and it just makes the art look done. I enjoy ink with watercolor as well–it was one of my favorite medium mixes in art school.

5) Add as Many Characters as You’d Like to Your Wooden Nativity Craft for Kids

Let your child add the Nativity characters they’d like, and finish each tile.
6) Finish the Nativity Set However You’d Like
Store your Nativity craft tiles in a velvet bag, paint them with a layer of polyurethane to preserve them for playing (let it dry before your kids touch it and do it somewhere really well ventilated), or hot glue a loop of thin ribbon to the back of each tile to create Nativity ornaments. Or, just leave the Nativity scene as-is.
It’s all up to you!

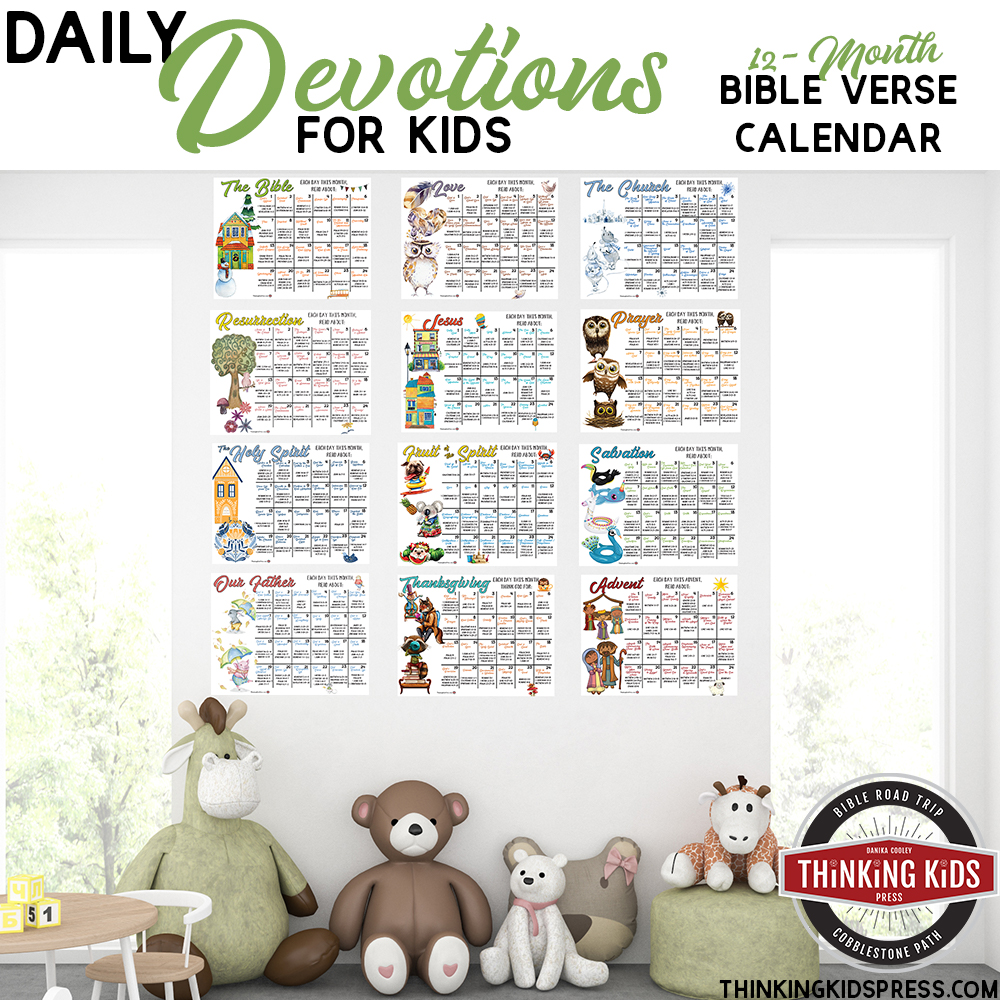
Your kids can learn about the Bible, who God is and more with this fun daily devotional for kids. With 12-months of Bible verses calendar printable sheets, your family will concentrate on a monthly focus. There are six days of reading each week, each day with it’s own focus within the monthly theme.
Your 12-month Bible verse calendar has themed devotions focusing on:
- The Bible
- Love
- The Church
- Resurrection
- Jesus
- Prayer
- The Holy Spirit
- The Fruit of the Spirit
- Salvation
- Our Father
- Thanksgiving
- Advent
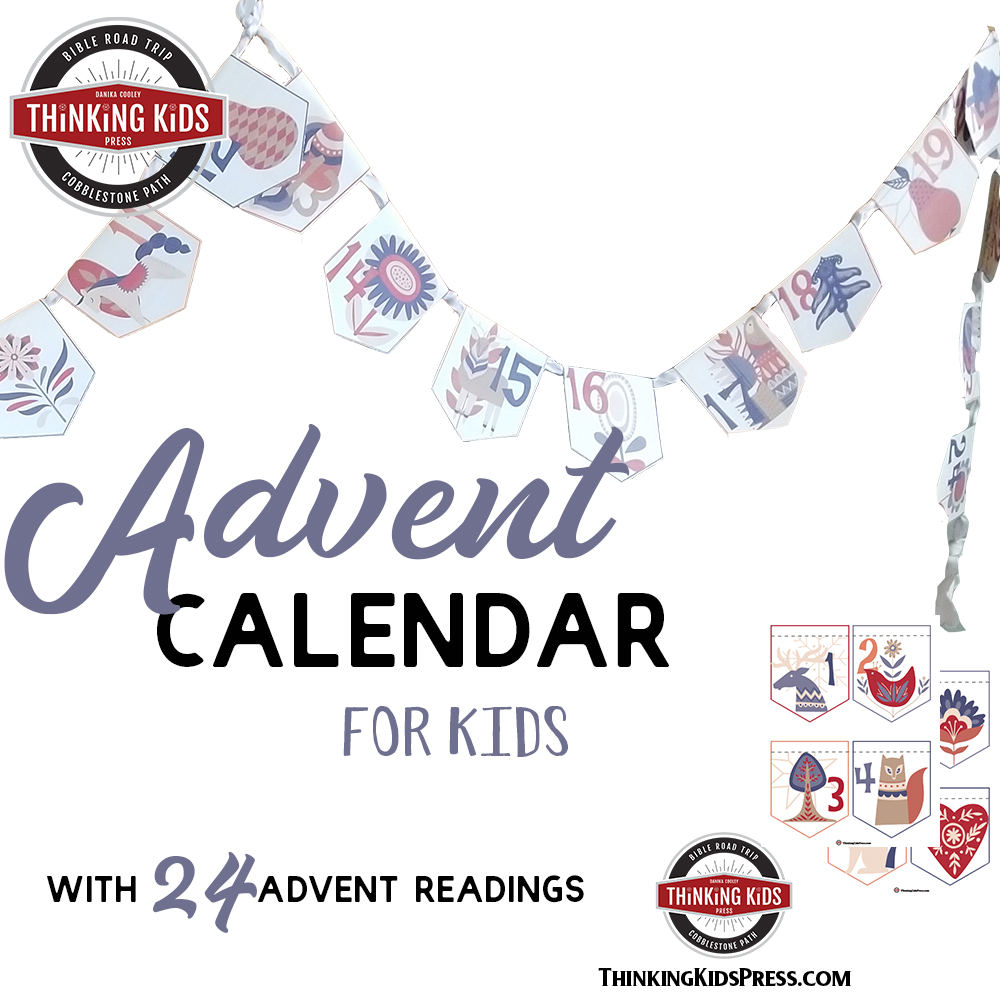
Want a sample calendar? Grab your free Christmas Advent calendar here.
Books Make Great Gifts!
Teach the kids about the Bible and Christian history…

…with fun books they’ll love reading!
Introduce your children to engaging stories written in an engaging narrative they’ll want to read. As they learn more about God’s Word and gain real-life heroes, they will learn to apply Scripture to their own lives. And, give yourself the gift of a book that will help your kids learn and love the Bible.


More Thinking Kids Posts You’ll Love!


Join the newsletter

Get the Family Prayer Box Project FREE!
Teach your children to pray with this fun project that includes 7 printable sets!

Leave a Reply